Posts

Showing posts from 2012

Upgrading The 3D Printer And Hexy Build Notes (Prusa RepRap)

Image
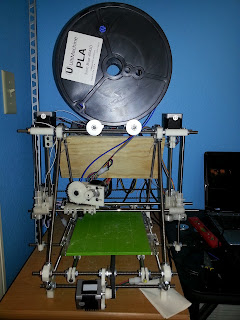
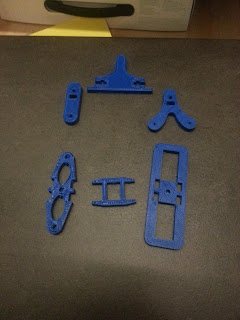
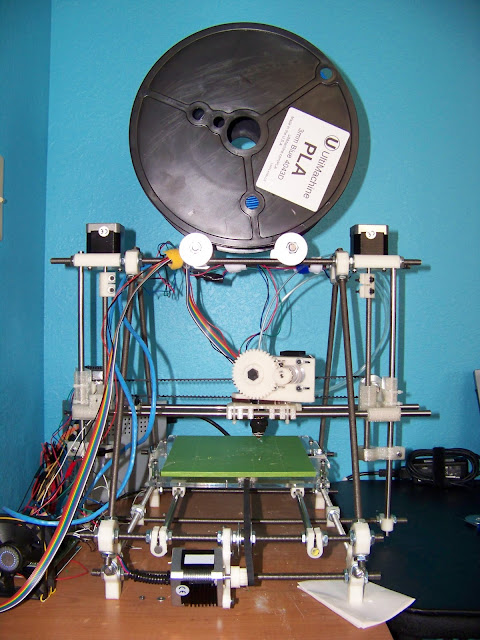
What a busy couple of weeks I have had. Many upgrades for the printer have arrived, and work continues on understanding and possibly building Hexy before my Kickstarter version arrives from Arcbotics . In this post I will cover the upgrades I have made to the printer; why I made the upgrades, their cost; and finally show some updated Hexy prints to show off the new accuracy. First; I was printing the Seej Starter Set , in preparation for taking my printer to work on my last day. While doing so, the printer gave up the ghost. Badly. First, the z-axis was homing and went right down through the printer bed. So after a break and calming down, I put the z-axis back together, calibrated; and went to home it again. Same thing, it went right down through the printer bed; which was saved by being spring loaded. This time though; the z-axis couple snapped in half. So, because of this complete printer failure and needing to order new parts anyway; I decided to do the upgrades that are sugges

RepRap Rebuilt! A 3D Printer Story

Image
So it has been a long time since I made a real post; but we won't dwell on it. Instead, let us get to the good stuff and share some information! This post regards my long term rebuild of my Prusa Mendel Reprap, which I decided to do back in March. If you saw my previous blog posts, you will have seen the state of the printer. It worked, but it didn't print well and there were wires everywhere. I even used some CAT5 as motor wire. Because of the setup, the printer experienced many problems: Wires would catch during the printing run. The printer could not be moved. The RAMPS (Arduino Mega + Shield) kept getting bumped around, etc. So, I took the entire thing apart and took the following steps: All wires now use connectors (pictured below).  These are available at Ultamachine: http://ultimachine.com/content/molex-4-pin-plug-socket-connector-kit The power supply and RAMPS are mounted on a small piece of wood, which is mounted to the reprap (pictured below) The thermis

Quick Post About Hexy

Image
Hello, just a quick post about Hexy the robot. I was recalibrating the printer after finishing up the rebuild and wanted to do some printing. Since I was curious about the sizing of Hexy and also my ability to print parts for it; I decided to grab the STL files and get printing. There was trouble; not all of the stl files were ready, some of them needed to be run through http://cloud.netfabb.com/ first. It took me a while to figure this out; but once I found it everything went smoothly. You may be curious; so here are some leg pieces for Hexy; printed in blue PLA. That's all for now. I'm prepping a full post on the rebuild reprap; my robot progress, and another project that is coming along very nicely.

3D Printer Build Post 2 (RepRap Prusa Mendel)

Image
My long journey concerning this printer has turned out to be a glorious one. With objects coming off the printer with a pretty high quality; and my ability to design objects starting to form, it became time to share the progress and information. I will answer my own questions from the end of the previous post; outline more of the printer build, and share the general experience. Also, I will address the budget with an update. Alright, so let's see it! Above is my RepRap (Prusa) as it sits today. It is half converted over to version 2. I chose to do this conversion to understand the printer better, and more importantly to improve the prints. The original build calls for using printed clamps on the axis; and the plastic simply slides. This is fine; but the clamps have to be replaced periodically and you just don't get accurate movement. So I printed a new X-axis, new Z-axis, some stabilizers and purchased a set of LM8UU shaft bearings to mount the new parts. Here are close